How to Install a Home EV Charger: A Comprehensive Guide
As electric vehicles (EVs) become increasingly popular, the demand for convenient home charging solutions is also rising. Installing a home EV charger offers numerous benefits, including faster charging times and the convenience of charging your vehicle overnight. However, the installation process requires careful planning and adherence to safety standards. This guide provides a comprehensive overview of how to install a home EV charger, ensuring a safe and efficient setup.
1. Assess Your Electrical Capacity
Before purchasing an EV charger, it's crucial to assess your home's electrical capacity. Most homes have a limited electrical panel capacity, typically measured in amps. A Level 2 EV charger, which provides faster charging, usually requires a dedicated 240-volt circuit with a capacity of 30 to 50 amps. Check your electrical panel to determine if you have sufficient capacity. If not, you may need to upgrade your panel, which can be a significant expense.
2. Choose the Right EV Charger
There are several types of EV chargers available, each with different charging speeds and features:
- Level 1 Chargers: These chargers use a standard 120-volt household outlet. They are the slowest charging option, adding only a few miles of range per hour.
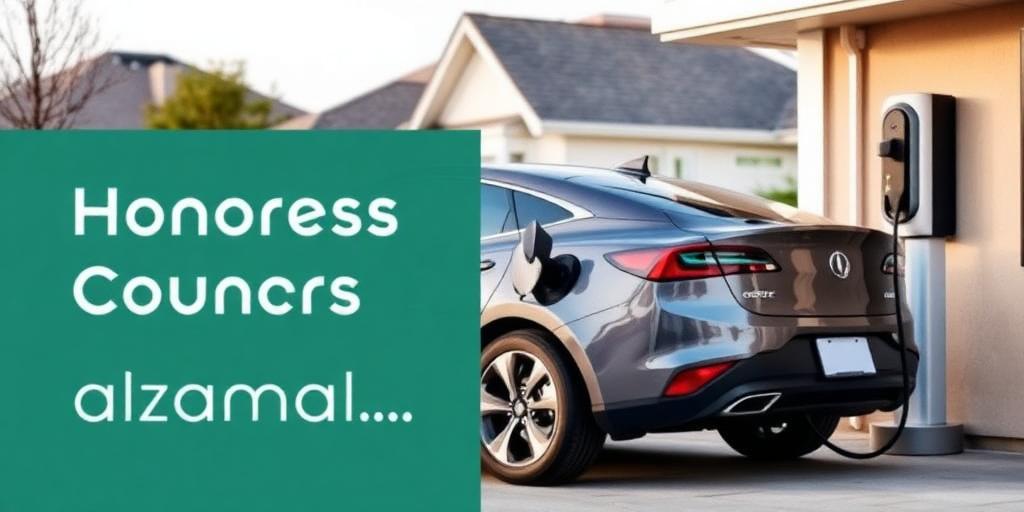
- Level 2 Chargers: These chargers require a 240-volt outlet and provide significantly faster charging, adding 20 to 30 miles of range per hour. They are the most common type of home EV charger.
- DC Fast Chargers: These chargers are typically used in commercial settings and are not suitable for home installation due to their high power requirements.
For most homeowners, a Level 2 charger is the best option. Consider factors such as charging speed, cord length, and smart features (e.g., Wi-Fi connectivity, mobile app control) when choosing a charger.
3. Obtain Necessary Permits
In many jurisdictions, installing an EV charger requires a permit from your local building department. Check with your city or county to determine the specific requirements in your area. Obtaining a permit ensures that the installation meets safety standards and complies with local codes. Failure to obtain a permit can result in fines and the need to redo the installation.
4. Hire a Qualified Electrician
Installing an EV charger involves working with high-voltage electricity, which can be dangerous. It is strongly recommended to hire a qualified electrician to perform the installation. A licensed electrician has the knowledge and experience to safely and correctly install the charger, ensuring that it meets all electrical codes and safety standards. They can also identify any potential issues with your electrical system and recommend solutions.
5. Install the Charger
The installation process typically involves the following steps:
- Turn off the power: Before starting any electrical work, turn off the power to the circuit at the main electrical panel.
- Install a dedicated circuit: The electrician will install a dedicated 240-volt circuit for the EV charger. This involves running new wiring from the electrical panel to the location where the charger will be installed.
- Mount the charger: The charger will be mounted on a wall or pedestal, according to the manufacturer's instructions.
- Connect the wiring: The electrician will connect the wiring to the charger, ensuring that all connections are secure and properly grounded.
- Test the charger: After the installation is complete, the electrician will test the charger to ensure that it is working correctly.
6. Inspect and Maintain the Charger
After the installation, it is important to regularly inspect and maintain the charger. Check for any signs of damage, such as cracks or frayed wires. Clean the charger regularly to remove any dust or debris. If you notice any issues, contact a qualified electrician for assistance.
7. Understand the Costs
The cost of installing a home EV charger can vary depending on several factors, including the type of charger, the complexity of the installation, and local labor rates. Here's a general breakdown:
- EV Charger: $500 - $1,200
- Installation: $500 - $2,000 (depending on electrical work required)
- Permits: $50 - $200
While the initial cost may seem high, the long-term savings on fuel costs can offset the expense. Additionally, many utility companies offer rebates and incentives for installing home EV chargers, which can help reduce the overall cost.
Conclusion
Installing a home EV charger is a worthwhile investment for EV owners, providing convenience and faster charging times. By following these steps and hiring a qualified electrician, you can ensure a safe and efficient installation. With a home EV charger, you can enjoy the benefits of electric vehicle ownership without the hassle of relying solely on public charging stations. Remember to always prioritize safety and consult with professionals to ensure a smooth and compliant installation process.


